


Fix, Fill & Restore Almost Anything in Minutes
Fix, Fill & Restore Almost Anything in Minutes
Couldn't load pickup availability


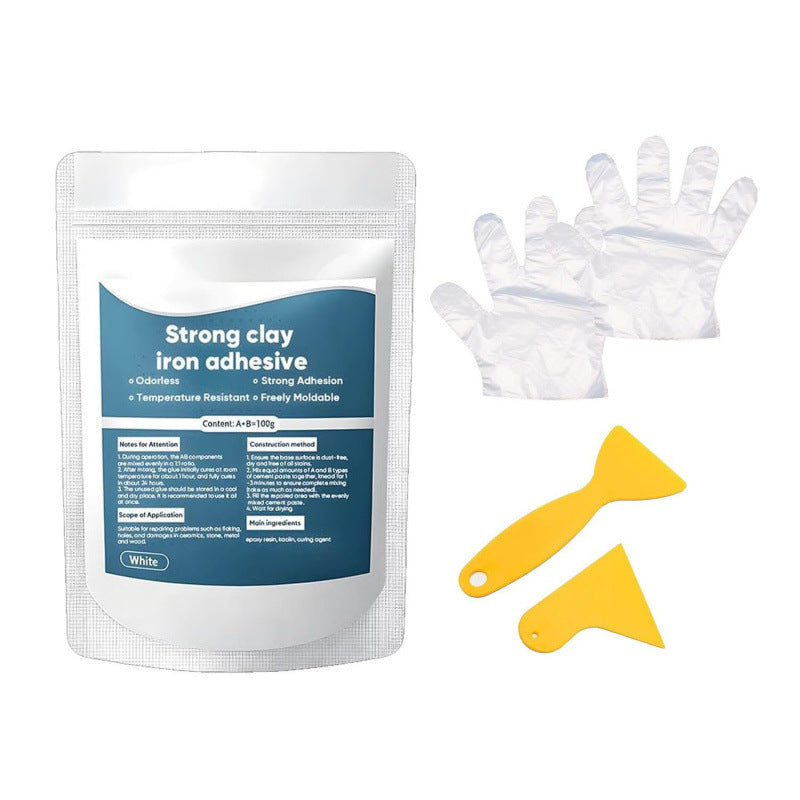


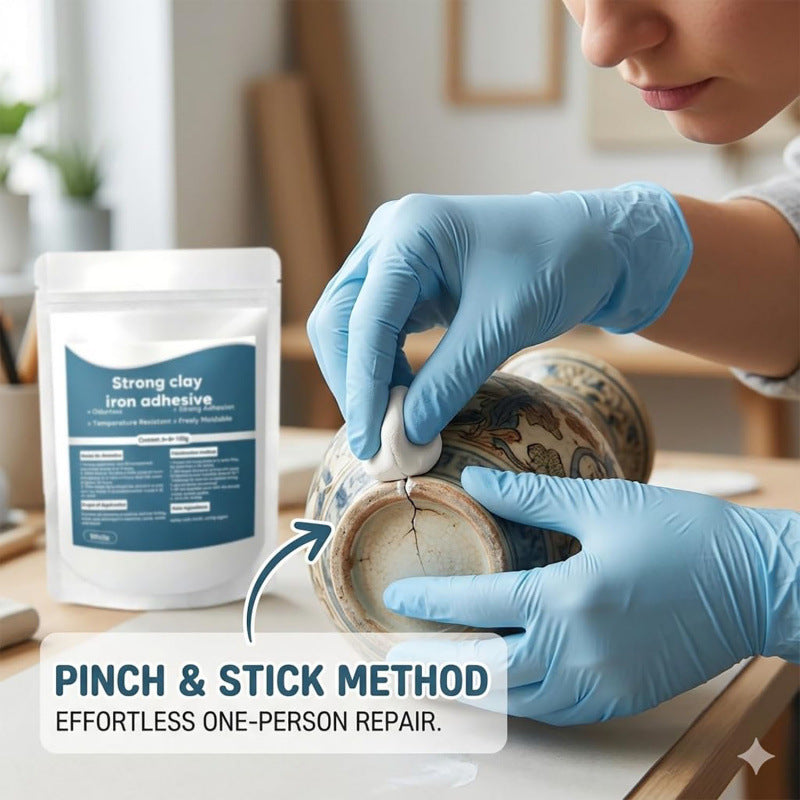

Repair It Instead of Replacing It
If you have a cracked pipe… a broken tile edge… a gap in metal, plastic, or ceramic that keeps getting worse… if you’re tired of temporary tape, messy glue, or waiting for someone else to fix a small but annoying repair… Then you need to know about High-Strength Multi-Purpose Repair Clay — the moldable, waterproof repair putty that kneads by hand, bonds firmly, and cures into a hard, durable patch for everyday repair jobs.

01 Creates a Strong, Weld-Like Bond Without Welding Tools
Most temporary fixes only sit on the surface. Tape can peel, glue can run, and soft fillers may crack under pressure. This moldable repair putty is designed to fill cracks, seal holes, rebuild damaged edges, and reinforce everyday household repairs.
“I used it on a cracked metal bracket and honestly did not expect much. After it cured, the repaired area felt solid and stayed in place.”

02 Waterproof Sealing for Pipes, Leaks and Damp Repair Areas
Moisture can quickly make small cracks and leaks worse. Once fully cured, this moldable repair putty helps seal small holes, reinforce damaged pipe areas and repair surfaces exposed to occasional moisture or outdoor conditions.
Clean and dry the damaged area
Mix and press the putty firmly
Allow it to fully cure before use
“I had a small leak around a plastic pipe joint. I cleaned the surface, mixed the putty, pressed it into place and let it cure. The dripping stopped.”

03 Shapes by Hand to Fit Cracks, Holes and Uneven Breaks
Flat patches may not fit curved pipes, broken corners or irregular gaps. This moldable repair putty can be pinched, kneaded, pressed and shaped directly into the damaged area, helping it fill uneven spaces more easily than rigid patches or runny liquid adhesives.
Knead
Shape
Press
Cure
“The best part is that I could shape it exactly where I needed it. It pushed into the crack instead of sliding off.”
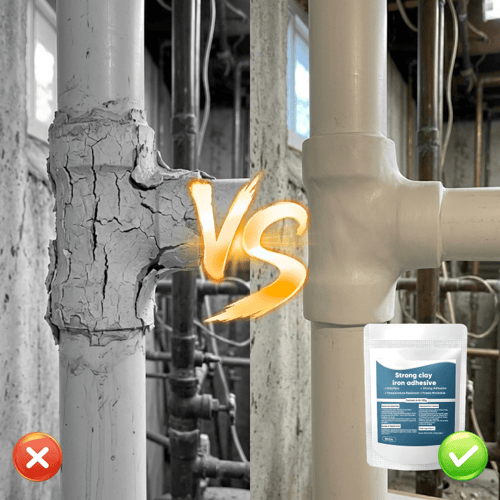
04 Hardens Into a Durable Repair That Resists Cracking and Deformation
Some fillers remain soft, shrink or crumble when pressure is applied. Once fully cured, this repair putty develops a firm finish that helps resist cracking, deformation and peeling, making it useful for repairs that need more than a temporary cosmetic cover-up.
Creates a solid repaired surface after curing.
Helps the repaired area maintain its form.
Designed for household, garage and workshop use.
“I used it to patch a chipped tile corner in my workshop. After it dried, the repaired area felt much harder than I expected.”
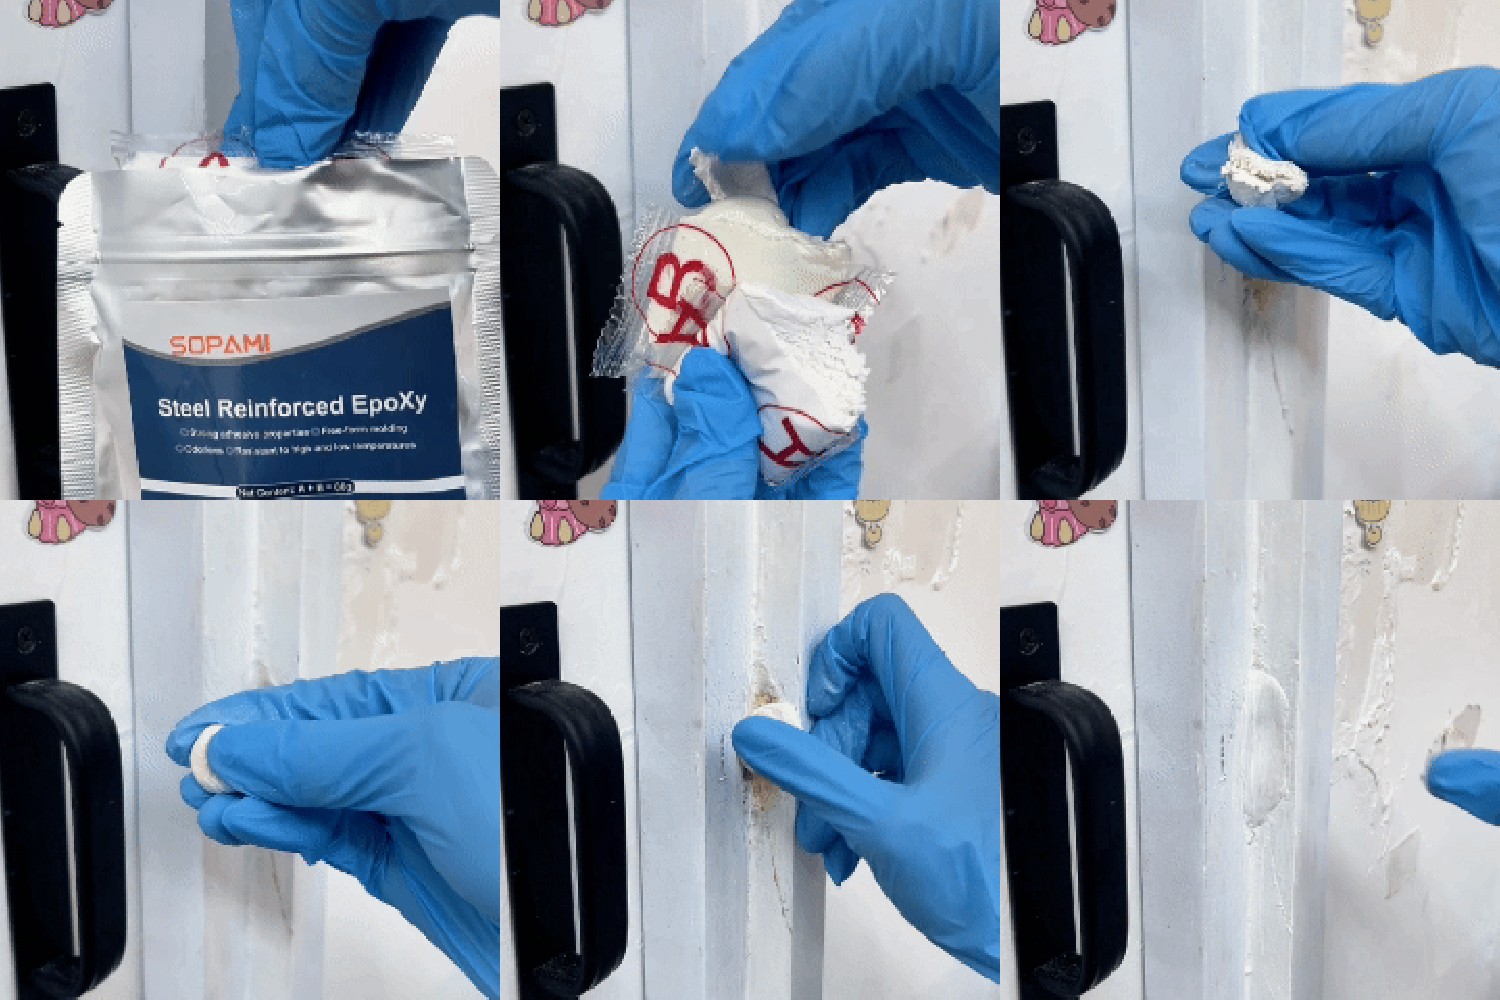
05 Simple One-Person “Pinch, Mix and Apply” Repair
No special tools, complicated preparation or professional repair setup are required. Simply clean the damaged surface, take equal amounts of Part A and Part B, knead them together and press the mixed putty firmly into place.
Remove dirt, oil and loose material.
Take equal amounts of Part A and Part B.
Knead together for approximately 1–3 minutes.
Press, shape and allow the repair to cure.
For better adhesion, apply the mixed putty to a clean, dry and slightly roughened surface.
“I’m not very handy, but this was straightforward. Mix equal parts, press it on, smooth it out and let it cure.”
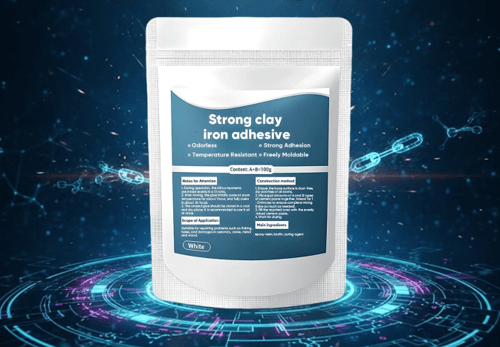
“I fixed a hole that had been bothering me for months. It only took a few minutes to apply, and after curing the repaired area felt firm and secure.”
06 Works Across Multiple Everyday Repair Scenarios
Keeping a different adhesive for every material can quickly become frustrating. This moldable repair putty is designed for a wide range of small repair jobs involving metal, plastic, ceramic, tile, pipes and damaged household surfaces.

Suitable for many metal, plastic, ceramic and tile repair jobs.

Helps fill small holes, reinforce damaged areas and seal gaps.
Useful for kitchens, bathrooms, garages and utility areas.
A practical option for small DIY and maintenance projects.
Surface preparation, application thickness and curing time may affect the final repair result.
07 How to Use Repair Putty in 4 Simple Steps
Follow these four simple steps to prepare, mix, apply and cure the repair putty for everyday household and workshop repairs.
Clean the Surface
Remove dirt, dust, oil, rust and loose material from the repair area. Make sure the surface is clean and dry before application.
Mix Equal Parts
Take equal amounts of Part A and Part B, then knead them together for approximately 1–3 minutes until the color is evenly blended.
Apply and Shape
Press the mixed putty firmly into the crack, hole or damaged area. Shape and smooth the surface before the putty begins to harden.
Allow It to Cure
Leave the repaired area undisturbed while it hardens. Initial curing may begin in about 1 hour, with full curing taking approximately 24 hours.
Curing time may vary depending on temperature, humidity, repair thickness and surface condition.
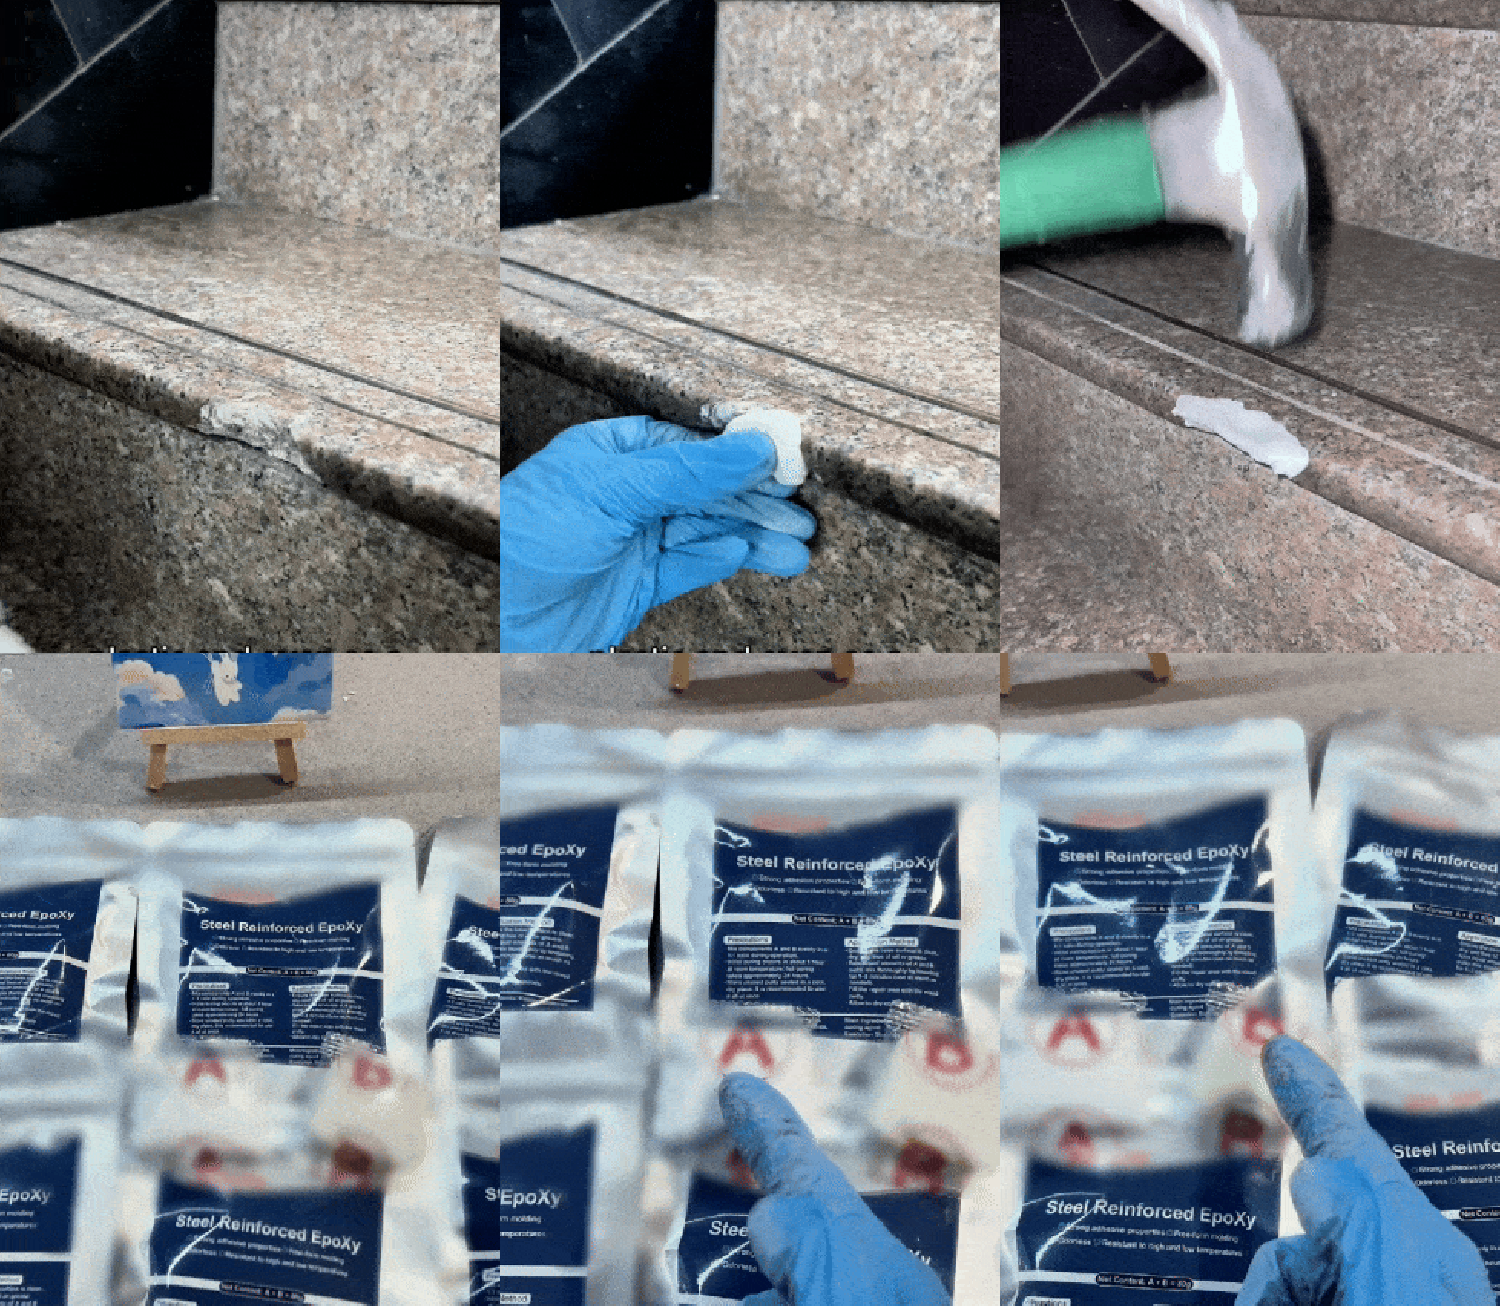
Repair Putty vs. Ordinary Quick-Fix Products
A moldable two-part repair solution designed to fill, shape and reinforce damaged areas more effectively than many temporary fixes.
Multi-Purpose Repair Putty
Mix, shape, press and allow it to cure.
Ordinary Tape, Glue or Soft Filler
Often limited by shape, surface or repair type.
Can be kneaded and shaped by hand
May run, peel or struggle on uneven areas
Presses into cracks, holes and irregular gaps
Flat patches may leave gaps around curves
Develops a firm finish after full curing
Some fillers may remain soft or shrink
Can be molded before it begins to harden
Limited control over thickness and shape
Useful for many small home and workshop repairs
Often requires a different product for each job
No welding equipment required for application
Extra tape, clamps or support may be needed
Clean the surface, mix equal parts, shape the putty and allow it to fully cure according to the product instructions.
Repair performance may vary depending on the material, surface preparation, application thickness, environment and curing time.
Frequently Asked Questions
Everything you need to know before using our multi-purpose repair putty.
It is designed for many small household, garage, workshop and utility repairs, including cracks, holes, chipped corners, damaged pipes, ceramic, tile, metal and certain plastic surfaces.
Clean and dry the damaged area first. Take equal amounts of Part A and Part B, knead them together for approximately 1–3 minutes, then press and shape the mixed putty onto the repair area.
The putty may begin to harden within about 1 hour, while full curing can take approximately 24 hours. Temperature, humidity, repair thickness and surface condition may affect curing time.
Once fully cured, it can help seal small leaks, holes and damaged areas exposed to occasional moisture. For better adhesion, apply it to a clean and dry surface and allow it to cure completely before exposing it to water.
Yes. Before curing, the putty can be kneaded, pressed, molded and smoothed to fit cracks, curved surfaces, corners and uneven gaps. Wearing disposable gloves during application is recommended.
No special equipment is normally required. For many small repair jobs, you only need disposable gloves and a simple tool for pressing or smoothing the putty.
It is suitable for many small metal repair applications, including cracks, holes, chipped edges and damaged brackets. Remove rust, dirt, grease and loose material before applying it.
It may be used for certain plastic pipe and joint repairs. Material compatibility can vary, so clean, dry and lightly roughen the surface before application and test a small area first.
After the putty has fully cured, the repaired surface may be sanded, shaped or painted depending on the repair material and the finish required.
The two-part putty is designed to harden into a firm repair with minimal movement when correctly mixed and applied. Final results can vary depending on repair thickness, surface preparation and curing conditions.
This product is best suited for small to medium everyday repairs. It should not replace professional welding, plumbing, electrical or structural repairs where safety is involved.
Wearing disposable gloves is recommended while mixing and applying the putty. Avoid contact with eyes and wash hands thoroughly after use.
It may be used for certain outdoor repair projects after fully curing. Long-term performance can depend on weather exposure, temperature, surface condition and proper application.
Keep Part A and Part B separated and tightly sealed. Store them in a cool, dry place away from direct sunlight, heat sources, children and pets.
Make sure the surface is completely clean, dry and free of grease, dust, rust or loose material. Lightly roughening very smooth surfaces may also help improve adhesion.
Repair results may vary depending on the material, surface preparation, application thickness, environment and curing time.